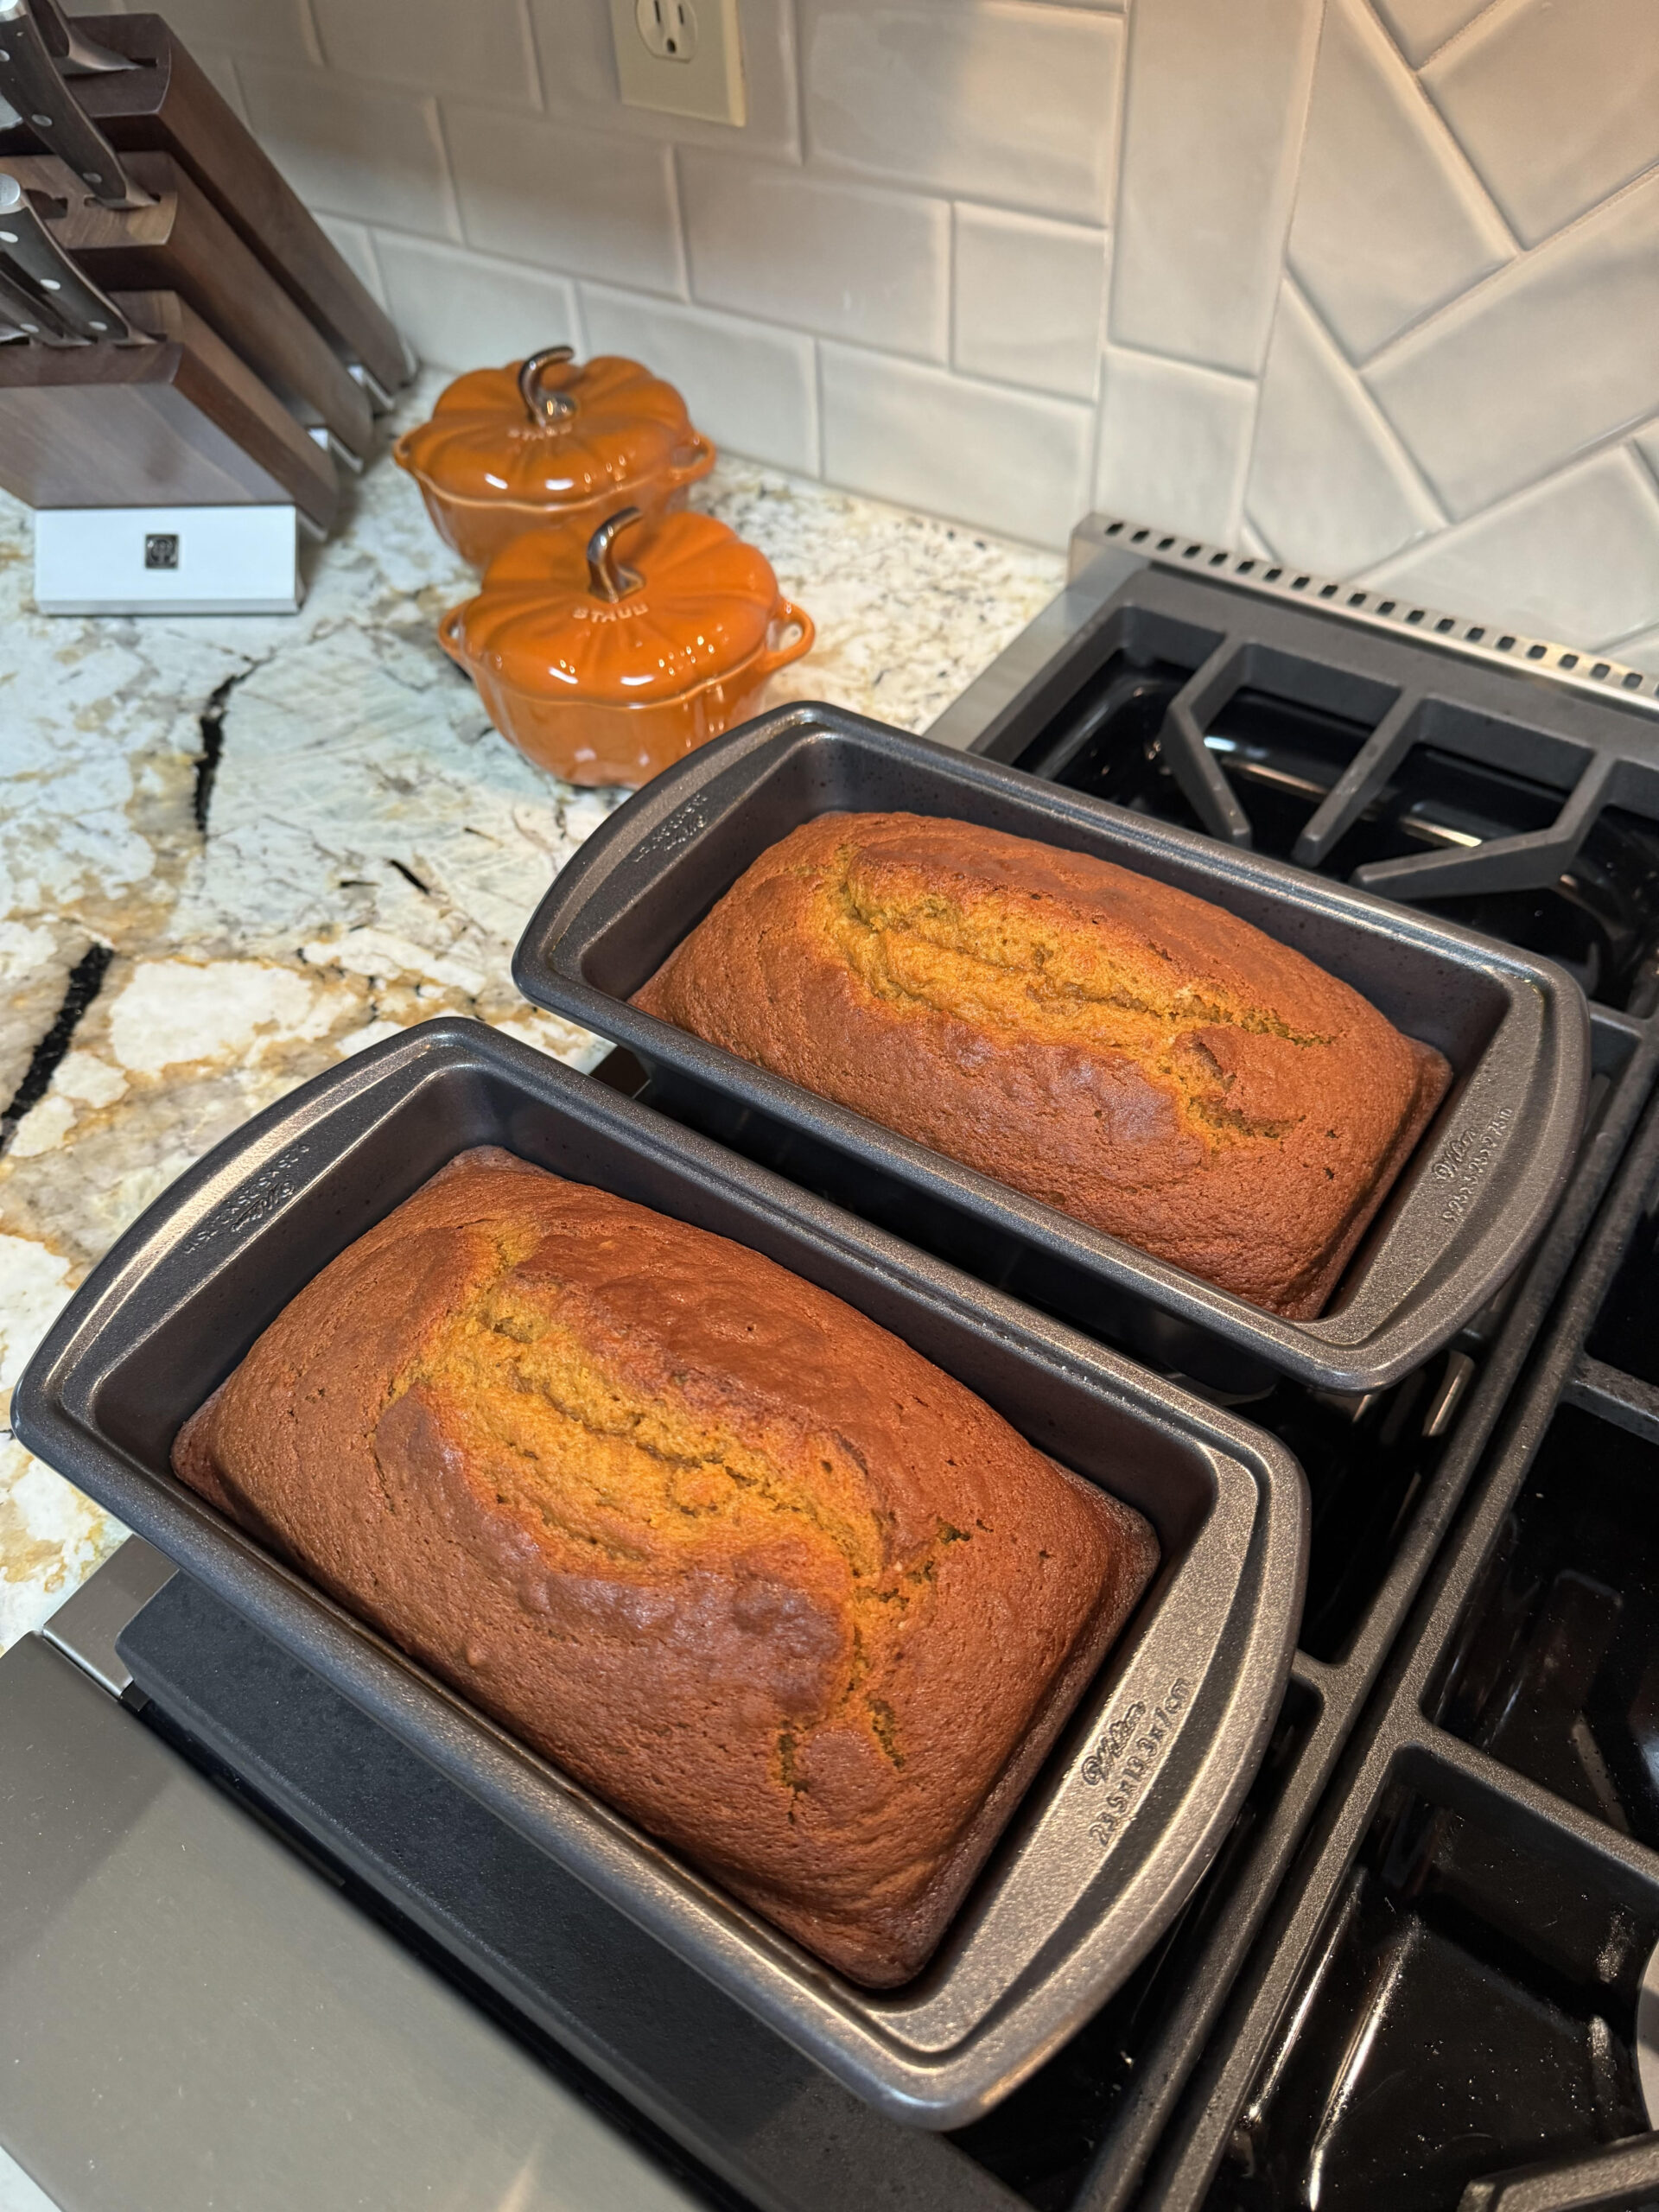
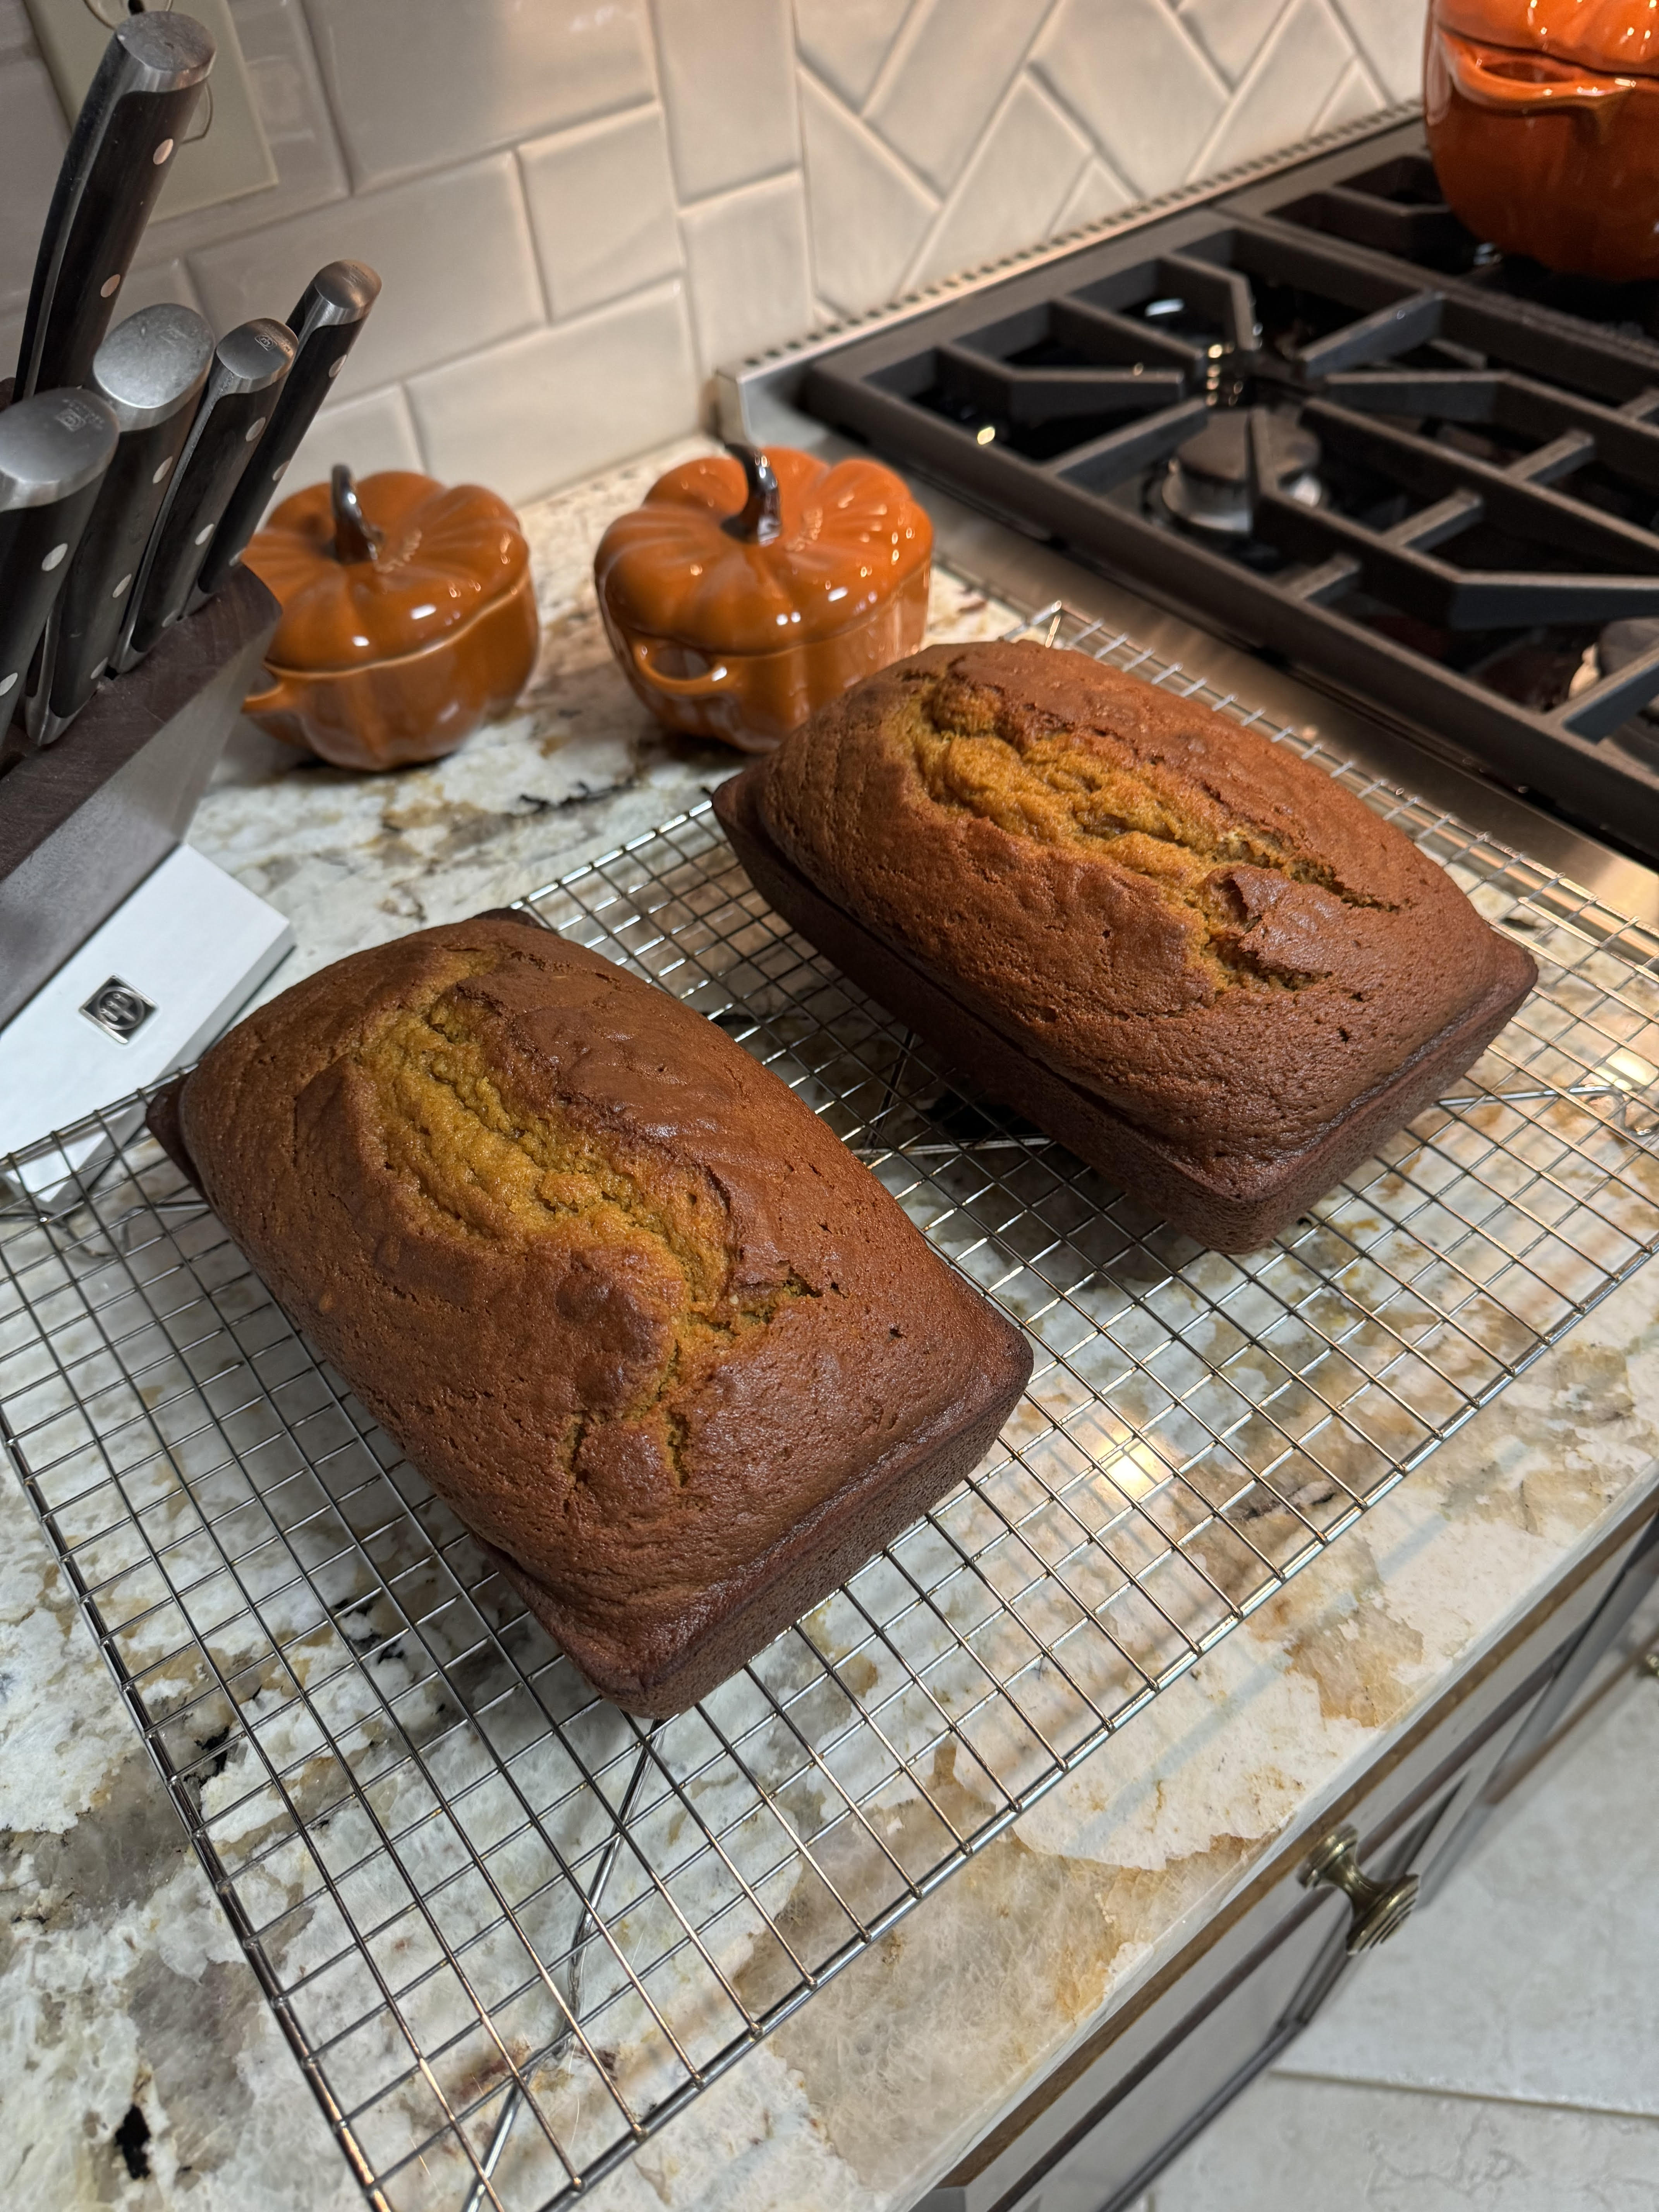
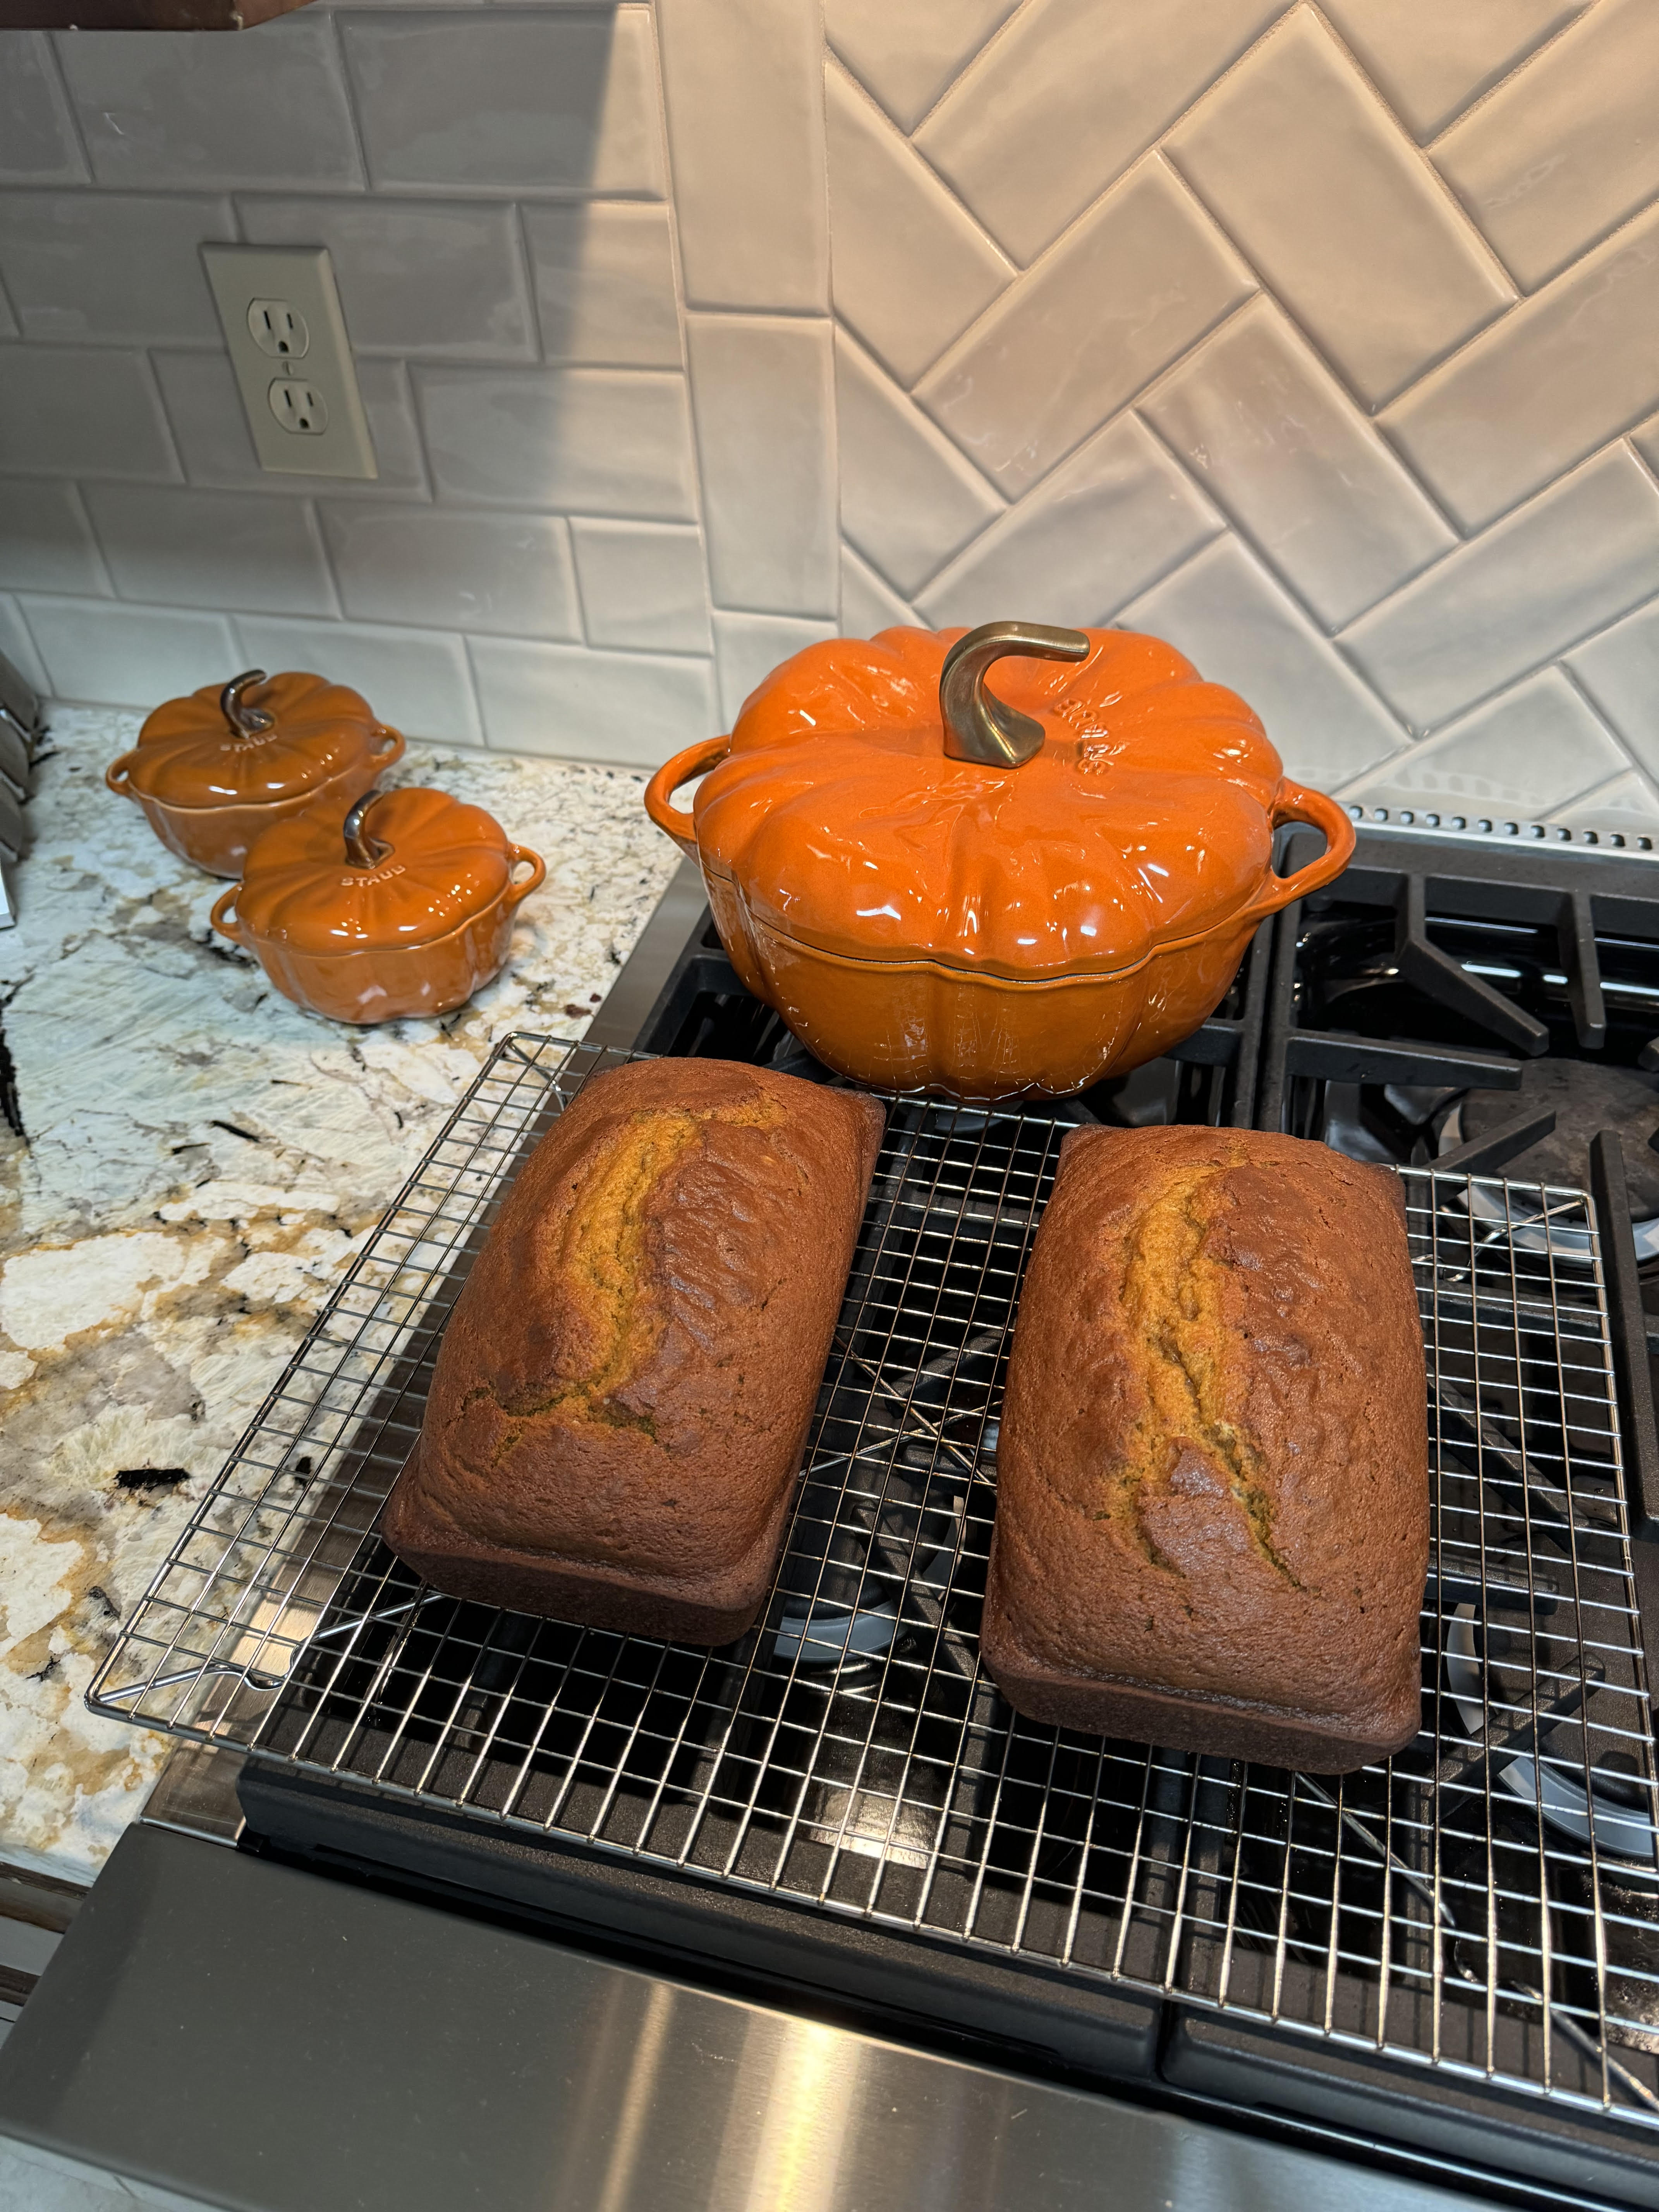
When the “ber” months hit, my family knows I’m making this World’s Best Pumpkin Bread recipe! The smell of cinnamon, nutmeg & pumpkin fill the whole house and brings Fall straight into my home. This recipe yields two loaves so you have plenty to go around. And trust me, you’ll be glad it makes two!
When you make this recipe, you’re guaranteed to be everyone’s favorite person! Seriously though, when I bring this to work, it’s gone in a day. You can even get creative and add some chocolate chips to it or mix is a cream cheese filling. I prefer it this way, but you can definitely experiment with some additions and see what ends up being your favorite.
Why does pumpkin bread crack on the top?
As your quick bread bakes, it is completely normal for the loaf to crack down the center before it finishes rising. Quick bread batters are heavy and dense, and this is just part of the normal baking process.
How Long Does Pumpkin Bread Last in the Fridge?
It isn’t necessary to refrigerate homemade pumpkin bread if you’ll be eating it within the first 3 – 4 days after baking it. Once it has cooled completely, wrap it tightly in plastic cling wrap or foil, and store on your counter. Or, if you’d like to extend its freshness, after 3 – 4 days on your counter you can move it to the refrigerator for 4 more days. (But your loaf won’t last that long! It will be eaten up quickly!)
All you need are a few simple ingredients to make the World’s Best Pumpkin Bread…
- Pure Pumpkin Puree
- Sugar
- Oil or Butter
- Eggs
- Flour
- Baking Soda
- Salt
- Cinnamon
- Nutmeg
It’s easier than you might think to make your own homemade pumpkin bread; just follow these simple step-by-step instructions.
First, preheat your oven.
Then you’ll mix the wet ingredients in a large mixing bowl.
You’ll also mix the dry ingredients in a medium mixing bowl. Make sure to whisk these dry ingredients until they are well combined.
Next, you’ll mix the wet and dry ingredients. Do this by gradually pouring the flour mixture into the large mixing bowl of the pumpkin mixture. Stir this well until combined completely.
Now it’s time to prepare your loaf pans. Start by spraying the bottom and interior sides of the loaf pans with cooking spray.
Here comes the fun part. Pour your pumpkin bread mixture evenly into two loaf pans.
Then bake your bread until done, per the instructions on the recipe card below.
Once your bread is done, let it cool down. Do this by transferring the loaf pans to wire racks. Then allow the bread to cool while in the pans for a few minutes.
Finally, remove pumpkin bread from loaf pans, and allow bread to continue cooling on wire racks.
Now it’s time to Eat Up! Once your loaves have completely cooled, slice and enjoy!!


Ingredients:
- 2 cups Pure Pumpkin Puree (canned or fresh) (not pumpkin pie filling)
- 3 cups Granulated Sugar (white sugar)
- 1 cup Canola Oil, Vegetable Oil, Avocado Oil, or Melted Butter
- ⅔ cup Water
- 4 large Eggs
- 3⅓ cups All-Purpose Flour
- 2 teaspoons Baking Soda
- 1.5 teaspoons Salt
- 1 teaspoon Ground Cinnamon
- 1 teaspoon Ground Nutmeg
Instructions:
- Preheat oven to 350 degrees for Nonstick Loaf Pans (or 325 for Glass Loaf Pans)
- Mix Pumpkin, Sugar, Oil, Water, and Eggs in large mixing bowl until well combined.
- In medium mixing bowl, combine Flour, Baking Soda, Salt, Cinnamon, and Nutmeg… then whisk until well combined.
- Then gradually pour flour mixture into large bowl of pumpkin mixture, and stir well to combine completely.
- Spray bottom and interior sides of TWO 9×5 (or 1.5 quart) Loaf Pans with Nonstick Cooking Spray.
- Pour mixture evenly into loaf pans.
- Bake for 55 – 75 minutes, or until done and a toothpick inserted in center comes out clean. (baking time will vary based upon your oven, the types of loaf pans you’re using, and your elevation) (Mine baked for 1 hour & 10 minutes)
- Once done, transfer loaf pans to wire racks and allow bread to cool in pans for 15 minutes.
- Then remove pumpkin bread from loaf pans, and allow loaf to continue cooling on the wire rack. Once loaves have completely cooled, slice and ENJOY!
*This post contains affiliate links. I may receive a commission if you make a purchase after clicking on one of these links. As an Amazon Associate, I earn from qualifying purchases.
Below I’m linking the loaf pans that I used & some Staub Ceramics & Cast Iron Pumpkins!
Loaf pans: https://amzn.to/3zj78Cm
Staub Pumpkin small https://amzn.to/3z6hQw1
Staub Pumpkin 3.5 quart https://amzn.to/4ek26o6
Staub Pumpkin 5 quart https://amzn.to/3AXetrA
Let me know if you try this out and what you think in the comments below!
